Thursday, February 24, 2011

cupcake party invitations...tutorial!

I can't believe my baby girl is turning five next month!
Where has the time gone?
And when did I get this old? :)


The best part about kid's birthdays is the P-A-R-T-Y! Right?! I love a fun party. To celebrate her birthday, Maeve ordered up a cupcake-themed (shocking!) party at our house for her 'school friends'.

Being so inspired by the rest of you, I wanted to try making her invitations by hand. Easy. A simple card with a pretty cupcake on the front and info inside.


I created a template/stencil for the top and bottom of the cupcake with a piece of rigid plastic from the back of some packaging (from a ped egg! ha!). I just free handed the shapes.  I used the cut pieces to trace around, but you could use the stencil that's left (but I cut through the edge of mine).   


I traced the shapes onto two coordinating prints of pretty scrapbook paper (one for the icing, one for the bottom). Trace on the back of the paper so your pencil lines don't show on the pretty side.  With the help of my uber-masculine, football-loving husband, we cut the shapes out (while catching up on a few DVR'd shows).


I picked up a 4-pack of adhesive tape at Tuesday Morning for super cheap and used that to stick the shapes to the front of a blank note card.  You could use a glue stick as well.  Got a pack of 50 blank note cards and envelopes for a few bucks at JoAnn's (using the 40% off coupon, of course).  


To top it off (and to add a bit of glitz), I added a heart-shaped acrylic jewel using adhesive dots. 


So cute!

Oh, and realized halfway through adorning that I was going about this in the wrong order (should have designed and printed the inside of the card first), I printed the party info on separate sheet of cardstock, cut it to size (with decorative edged scissors), and adhesive taped it to the inside of the note card.
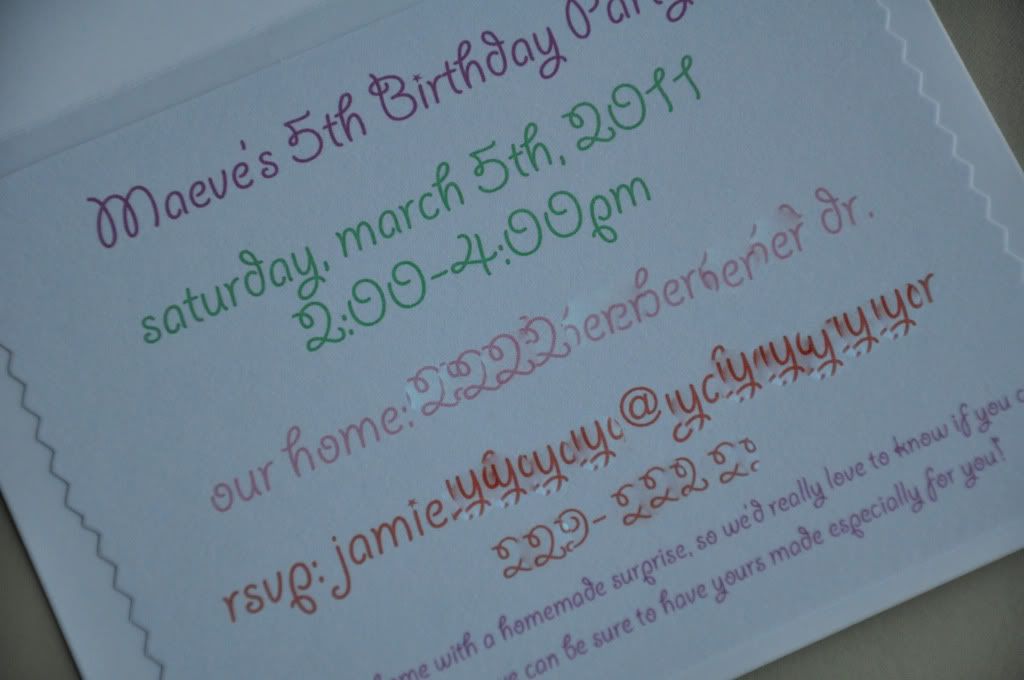
the small print at the bottom of the invite talks about a 'special homemade gift for the girls'.  i'll be blogging about that surprise as well.  stay tuned!

I made it easily in Photoshop Elements, but you could just as easily done it in whatever software you have!

Mailing tip: if you add any "sharp" adornments to your card (like my jewel), place a piece of tape on the inside of the envelope to prevent it from poking through during delivery. It'll also help protect it! 

If you look closely, you can see the indentation my jewel made on the flap of the envelope.  I simply placed the tape there for reinforcement.
There you have it...easy and cute birthday invites!


Tip Junkie handmade projects

Saturday, February 19, 2011

small creative space + wall bed = Happy Me!

Add this to the *long* list of reasons I L.O.V.E. my husband.  Look what he created for me...
a queen-sized WALL BED...
which gave me much more space in our not quite 10 x 10 irregularly-shaped guest bedroom turned craft/sewing/creating room for more...
STORAGE!


Here's the bed folded down and ready for guests.


Being relatively new to sewing/crafting/creating, etc., my stash of supplies has multiplied faster than a wet mogwai (can't resist a movie reference, even if it's from 1984).  Our guest bed is a  queen which dominated the small space.  

We bought the mechanism online at www.wallbed.com for $299 (free shipping) which came with plans for building the cabinet.  It also came with a 'cut list' which we took to our local lumber yard and they cut the wood for us (b/c we don't have a table saw).  For both the lumber and the labor, it was about $400.


We had a closet to work around, so we couldn't do an entire wall of 'built-ins'.  Here you can see what we started with. 


Here's the wall that will soon become the aptly-termed 'wall bed'.  Notice the U.G.L.Y. clean out thing in the floor.


My husband treated himself to a new Porter Cable finishing 3 gun finish nailer set for this project!  That made the assembly MUCH easier.  

His well-deserved splurge.
And this is what he built...at least the beginning of it.  


Which turned into this:.  The black hardware in the upper left is where the mechanism attaches.  


We followed the provided plans except we added 6 or 7 inches of depth to the cabinet to hide a horribly annoying plumbing clean out that is not flush (ha ha, no pun intended!) with the floor. 


The extra depth also allowed for more storage.  We had planned to use a basic shelving system of some kind, but luckily we took our time and did our research.  I love finding and using things in different ways that actually work better!  The perfect fit was Ikea's PAX wardrobe, so we got two, one for each side.  Because it's a wardrobe, it is SO much more functional than simple shelves. 


I got two wooden drawers, 2 wire baskets, a compartmentalized plastic drawer, and lots of shelves. 

I was so excited about these cabinets that I just started packing my stuff in.  I need to go back through and rearrange based on functionality, but this will give you an idea of what we did at least.


There are so many reasons to love my husband...I'll just add this to the list.  :)  Isn't it beautiful?


Tip Junkie handmade projects

Tuesday, February 15, 2011

"suck it, trebek" onesie


At my sister-in-law's baby shower (for her little one who is almost 18 months old now), we got to create personalized bibs with fabric paint for the baby on the way.  

The baby's father is a funny guy with a penchant for hilarious show and movie quotes (a man after my own heart).  So, in good fashion, I painted a pacifier on my bib and the words, "Suck it, Trebek".
    

image: NBC SNL


Since then, I have wanted to recreate the sentiment of that bib, and tonight I finally got around to it.  This time, I used a white cotton onesie (from Target) and some coordinating fabric to make an appliqued version.  

What do you think?


My apologies for the dark photos.  I finished this late at night and was so excited to take a few pics of it.


Don't look too closely at my beginner applique skills.  I did the pacifier in 3 parts and layered them.  That I did in a zig zag stitch.  The letters are only one inch tall, so i did them in a straight stitch.  Honestly, I wasn't sure how it'd turn out, but after the fact, I think I kinda like the two different stitches together.


So there it is...my tribute to Saturday Night Live circa 1996!  


handmade projects
Today's Creative Blog

Monday, February 14, 2011

happy [heart] day...love, darth vader

I love this idea that is circulating the blog world for today...i normally would link back and credit the idea, but i've seen it so many places, i don't know who to credit!

Anyway, these are the most adorable valentines' day cards. We made them for my 2nd grader and preschooler (even though the 2nd grader is home sick today, boo).

Here's how they turned out:


And here is my Star Wars-loving son's valentines' box.  It was totally his idea to use his old halloween costume to create a Darth Vader box.  The message on the front was his idea as well (Luke, I am your valentine).  I only came up with the felt for the cape, he did the rest!


a hole cut under darth vader's mouth gladly accepts valentines' cards and candy (yum yum!)


Friday, February 11, 2011

my friend...Melissa K. Hoy Jewelry Designs!


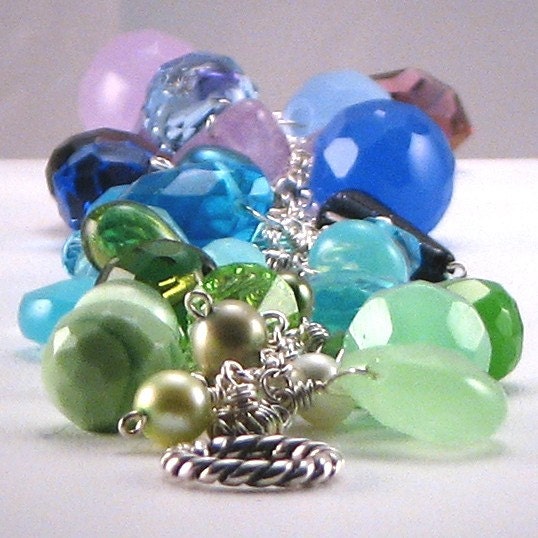
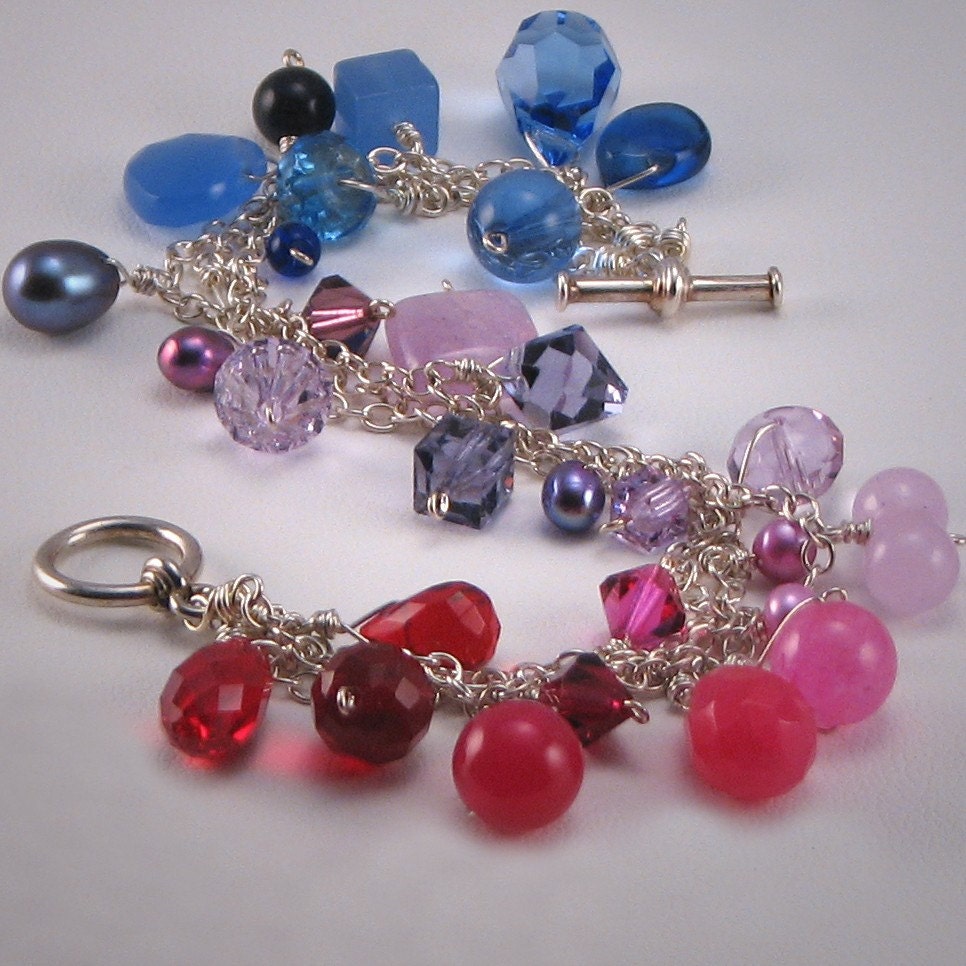
Razzle Dazzle, Swarovski Crystals, Freshwater Pearls, Sterling Silver Bracelet in Shades of Purple, Blue & Green                        Color Burst, Swarovski Crystals, Freshwater Pearls, Calcite & Quartz, Sterling Silver Bracelet in a Rainbow of Reds, Pinks, Purples and Blues 

Melissa is a wife. a mother. a daughter. a sister. a friend.  Amidst all of that, she's an artist.  She studied art in college because it was what she knew she loved while others struggled to weigh the pros and cons of 'enjoyable' versus 'practical' majors.  (I clearly missed both by being a philosophy major!).

Since then, Melissa has run her business, Melissa K. Hoy Jewelry Designs while raising three children with her husband, Shawn, and moving around the country multiple times (I think the only part of the country they have yet to conquer is the southwest!).

(In her spare time), Melissa designs and creates amazing jewelry.  She uses all sterling silver components and very high-quality stones.  She would love to work with you to customize a piece to suit your needs.  Get in touch with Melissa!  She even named some pieces after my daughter, Maeve and yours truly.  She was able to create a piece of jewelry that represent us perfectly.


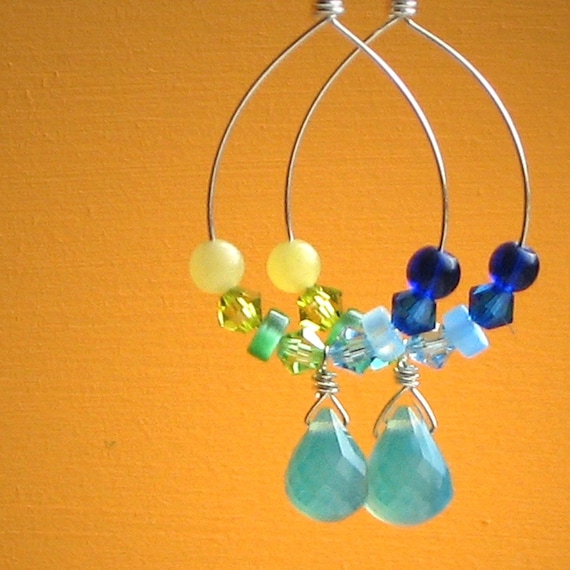
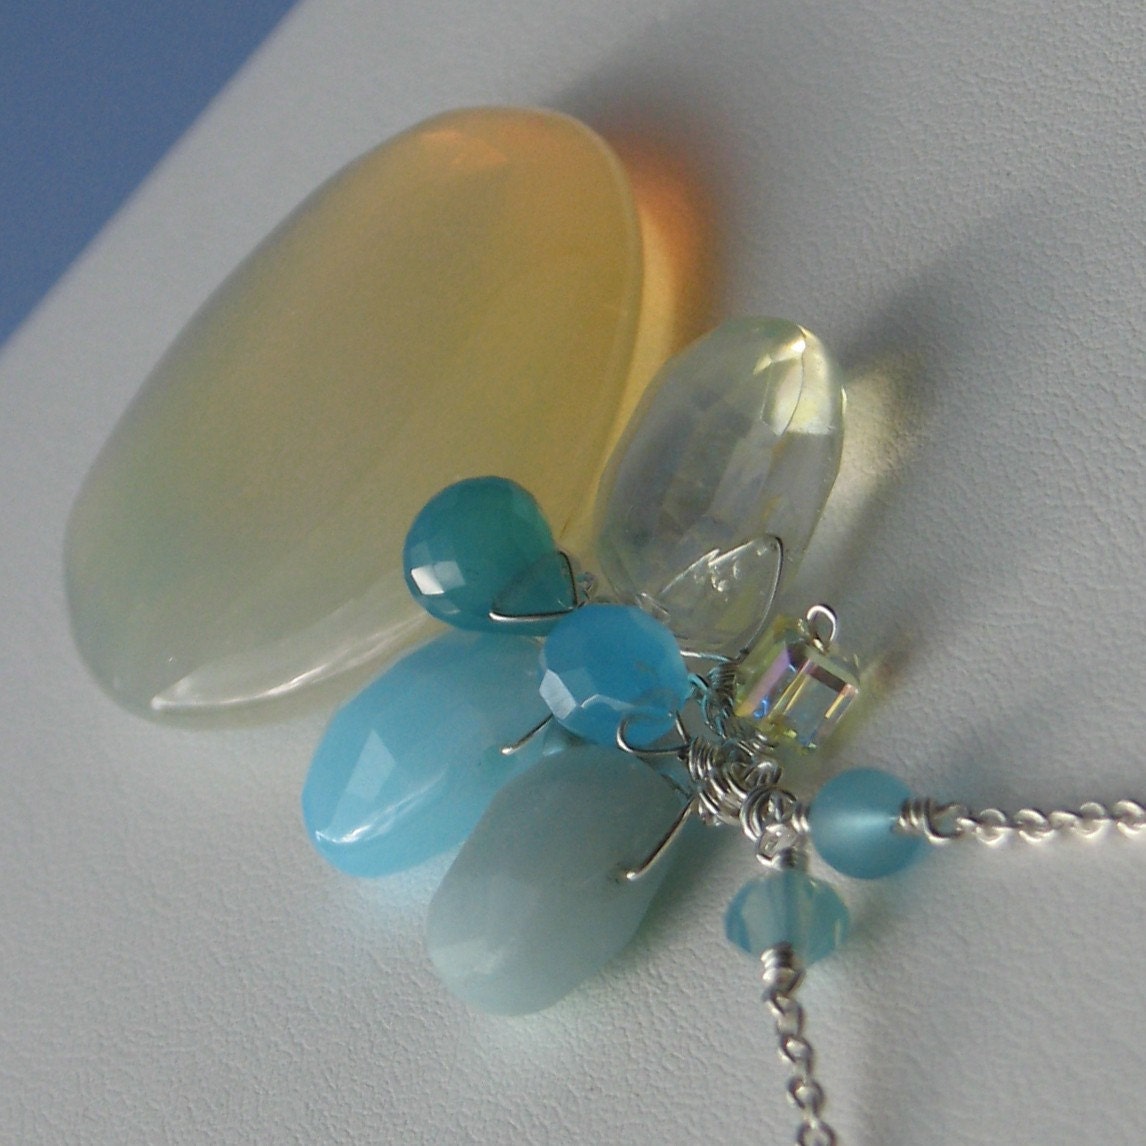
Hoop Dreams, Handmade Sterling Silver Hoops, Sea Blue Chalcedony Briolettes, Olive Jade, Aquamarine & Peridot Swarovski Crystals                          Beach Beauty, Sea Blue Chalcedony, Lemon Quartz, Swarovski Crystals, Teal Freshwater Pearls, Sterling Silver Necklace

Go check out her Etsy Shop, melissakhoy...she's adding more pieces all the time...but you're too late if you love the "beach beauty" necklace above right..cause I already bought it!

Related Posts Plugin for WordPress, Blogger...