Monday, March 28, 2011

function+pretty = awesome project

being in a show sounded like a great idea...a month ago...now that it's 5 days away...there are not enough hours in the day!

thought i'd share a project so you can give me some feedback (i heart feedback - good or bad, seriously). i'll do another tomorrow. 

fabric boxes:
these are pretty simple.  there are a ton of tutorials out there for variations of this.  this is michael miller fabric.  i am loving grays with yellow right now! 
 
 
i'll whip these up in various sizes.  my husband suggested one sized to hold napkins...other ideas?


Tip Junkie handmade projects

Saturday, March 19, 2011

the perfect baby shower gift...

when i was pregnant, i could not wait for the day when i could find out if it was a boy or a girl.  i don't mean in the delivery room, i mean, with the help of modern medicine.  


fortunately for me, my sister-in-law is an experienced sonographer.  she is also kind, generous, and has always made me feel like a part of the family.  love her.  i digress.  so we were able to find out a bit early with both kids (one boy, one girl), then "make sure" each time we were scanned.


brings me to my pet peeve #64:  people who don't want to find out!!  i just don't get it.  :)  


anyway, i was asked recently by a friend to make a baby gift for one such mother.  i found it rather difficult to choose fabric.  so here's my solution:


a reversible pennant bunting with a little matching flannel pillow for fun!


One side has a fun funky, mod boy print. 
the boy side

The girl side is a happy flower print.
the girl side

Sorry for the horrible lighting in the pillow pic.  I was working late to finish it and had to get it in the mail the next day so it'd get there in time. 

the matching pillow


Thursday, March 17, 2011

my first show! Spring Bling!

i am so excited!  this will be my first show...and to be with 2 super-talented ladies...i cannot wait.  i have a lot of work to do...a lot!

please come if you're in the area...i'd *love* your support!


if anyone has any tips for exhibiting and putting on a great show...i could use them...please HELP!

Tuesday, March 15, 2011

i'm a good speller, i swear!

if you can't laugh at your own mistakes...laugh at someone else's (i.e. get ready to laugh at my mistake!)
if at first you don't succeed, try try again...
measure twice, cut once...


but most importantly, spell check before you create an entire silk screen, print multiple shirts AND applique a cute little foot on one...


get it? 


yep, that means i looked at this a bazillion times and didn't notice the misspelling.  do you see it?  would you have noticed it had i not pointed it out?  


correctly spelled: metatarsal

i printed it from a makeshift silkscreen (embroidery hoop and some sheer curtains).  painted out the non-ink parts with some mod podge (took several coats to perfect).  ha! to perfect the misspelling, that is.  ;)  


then appliqued the foot.  argh!  all that work!  


maybe a future tutorial on silkscreening?  whatta ya think?  


Friday, March 11, 2011

cupcake party aprons...SO cute!

another cupcake party post...it's consuming my life (by consuming, i mean, i'm loving every minute of it!).  i quickly realized you can't have a cupcake party without a cupcake decorating activity.  

let's do the math:  (5-year-olds)(9) + frosting + (a million tiny decorations) = m.e.s.s.!!!!
not messy yet! 


so, i spent the weekend fiddling around to come up with a basic apron to use as favors for the guests at maeve's party.  it had to be 5-year-old sized, super cute, and 5-year-old friendly.


maeve modeling her birthday apron
5-year-old sized:
measured my 5-year-old.  i cut on the fold and eye-balled the curve for the 'arm' area.


super cute:
fabric from jo-ann's.  i've seen lots of cupcake/sweets-themed fabrics around.  find one you love. 
jumbo ric-rac to finish the top edge and bottom edge.


5-year-old 'friendly':
for the purposes of the party, i didn't want to spend time helping mutiple girls get in and out of their aprons.  i used 1/2" elastic for the neck strap (MUCH easier than D-rings).  it slips right over their heads.  i used velcro for the waist strap.  e.a.s.y.
elastic neck strap
velcro made it easy for the girls to get in and out of their own aprons


and to make them special, i appliqued each guest's initial to the front of their apron.  if you look closely at the first pic in this post, you can see some of the initials.  more math: 1j+2 l's+1k+1e+1z+2 m's+1r = 9 personalized aprons for 9 happy little ladies!

m is for maeve!


Wednesday, March 9, 2011

marshmallow cupcake-on-a-stick tutorial

food on a stick.

this is comes very naturally for me, given i grew up in the great state of iowa, home to the iowa state fair, known for [insert food item here]-on-a-stick (deep-fried, if you're lucky)! some of the interesting ones lately:
  1. deep-fried pickle on-a-stick
  2. deep-fried twinkie on-a-stick
  3. deep-fried snickers candy bar on-a-stick
  4. tiramisu on-a-stick
  5. salad on-a-stick
  6. pork chop on-a-stick, etc.
so, why not a faux cupcake on-a-stick???  these are sweet to look at and sweet to eat (and lots of fun to make)!  perfect for a cupcake-themed party!

what you'll need:
  • marshmallows, white and/or pink.  we used one 10 ounce bag of each which yielded about 80 cupcakes-on-a-stick.
  • almond bark (vanilla and chocolate).  we used 1/2 a package of each.
  • lollipop sticks.  we used the 8" sticks.  got a pack of 100 at michael's (with my 40% off coupon, of course).
  • multi-colored jimmies (sprinkles), nonpareils, or other small decorations
  • small candy to use for the topper (mini m&m's would work well).  i found easter sixlets that worked perfectly!
  • piece of styrofoam to hold sticks upright while cooling.
enough of the prep...let's get to the fun!

step 1:
put marshmallows on your sticks.  make them as straight as you can.  i pushed mine about 90% through. 

you could stop here...this is cute as is!

step 2:
melt almond bark.  before you open the package, tap on the edge of counter to break it into smaller pieces.  it'll melt more evenly.  put about half of the package into a microwave-safe container.  a glass measuring cup worked well.  it's not as shallow (for dipping) and had a handle for gripping your hot bark.  make sure your spoon is completely dry.  moisture will cause your bark to clump or separate. i micro'd on 70% power for 30 seconds at a time until smooth.  don't over heat!

step 3:
the fun part!  dip your marshmallows.  dip about 1/3 to 1/2 of the marshmallow into the bark.  while holding in container, spin gently to remove excess bark, then spin as you turn right-side-up (not necessary, but makes a cute twist on top!) 


ready to take the plunge!


post-dip, letting excess drip away


the twist!

step 4: 
decorate!  sprinkle your decoration of choice.  add the pretty candy (sixlet or m&m) to the center.


i love this action shot!
the fallen soldiers


step 5:
poke sticks into your styrofoam to cool.  and take some pics of them all lined up and pretty!


optional step 6:
place in treat bag and tie up with coordinating ribbon.  so sweet!


Tip Junkie handmade projects


Saturday, March 5, 2011

cupcake party pennant banner

we are in full swing party mode at my house! once again, with inspiration from the craftblog world, we (my awesome husband and i) created this uber-adorable pennant banner for maeve's 5th birthday party.

the banner taped to the wall, just to see how it looks

it was so simple. the penants measure 6" x 9" which allows you to easily cut three pennants from a 12" x 12" sheet of scrapbook paper. i used a textured paper which was a bit thicker than cardstock in the party colors.

we added a top border using a coordinating scrapbook paper and fancy decorative edge scissors (i love these). it's attached with adhesive on a roll. trim the excess flush with your pennant. we did have to splice a few, but you won't notice when it's hung on the wall. tip: if you use 12" x 12" paper, make the dimension of the top of the pennant 5 1/2". this way you can utilize the full 12" length of border paper.


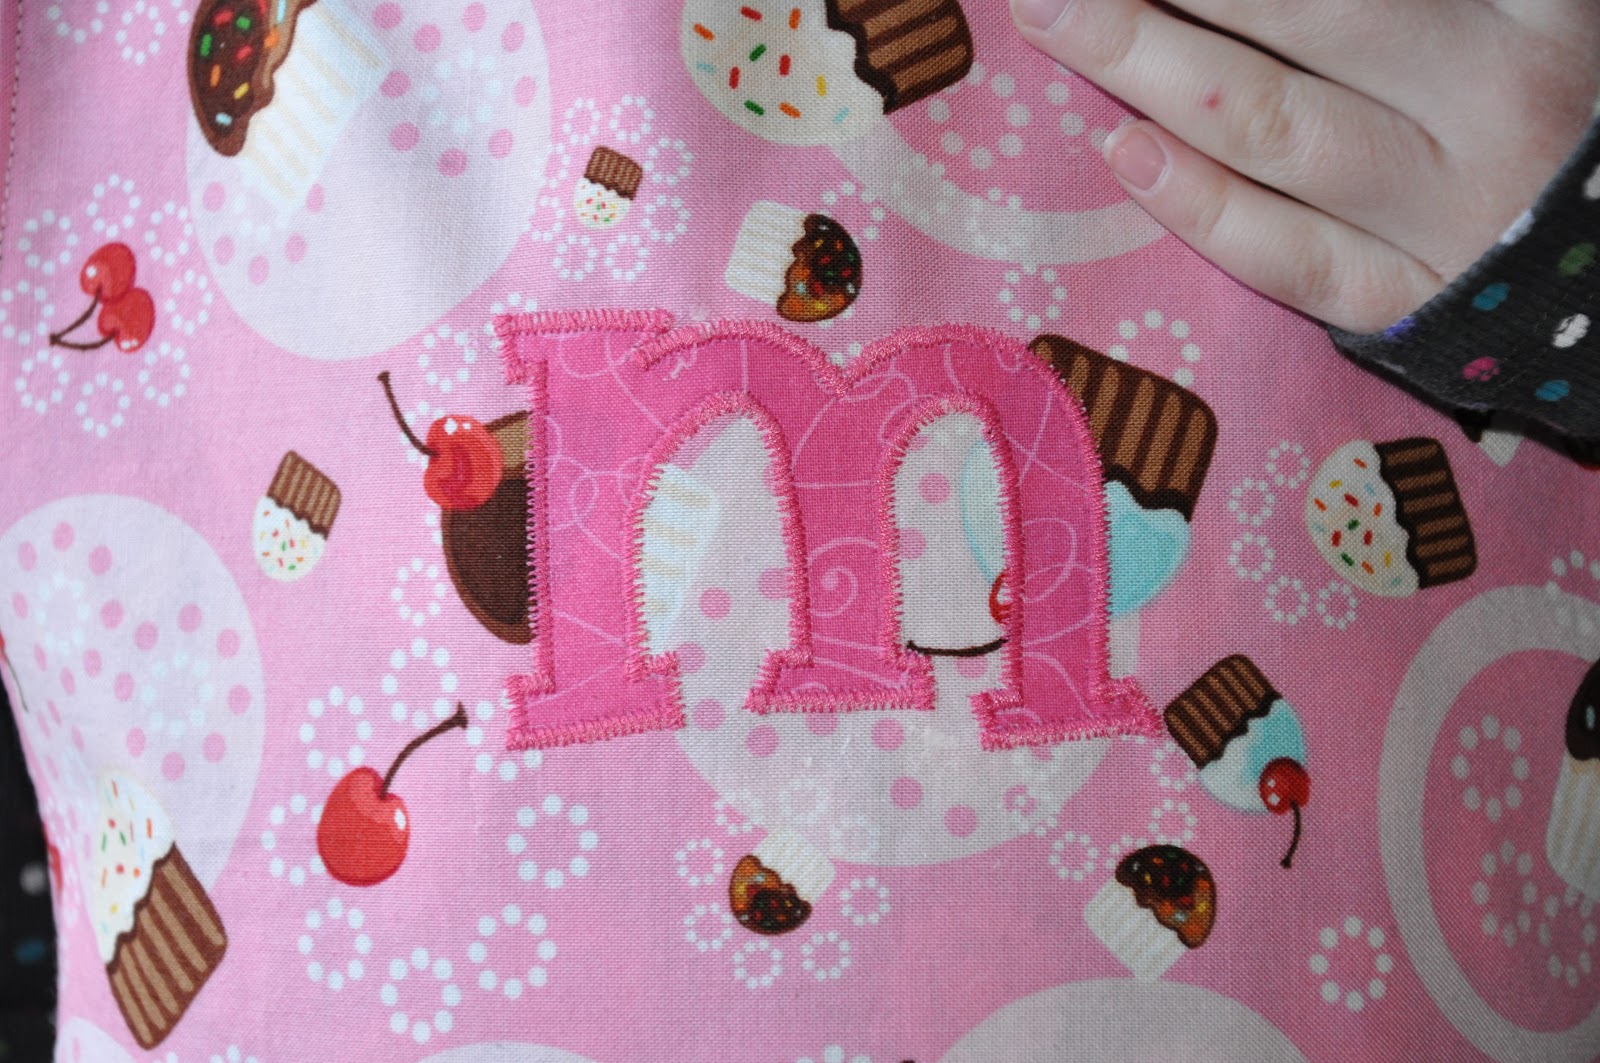
i free handed the letters, but you could easily use a font from your computer. tip: use the 'mirror image' option (found in the printer preferences) and print on the back of your paper. then simply cut the letters out! viola! no lines on the front!

tip:  create your own coordinating cupcake invites with my simple tutorial here.


see the birthday girl in the background!

ribbon was on sale 3/$1 last weekend, so that is what i used to hang the banner. the pennants are attached to the ribbon with scotch tape.

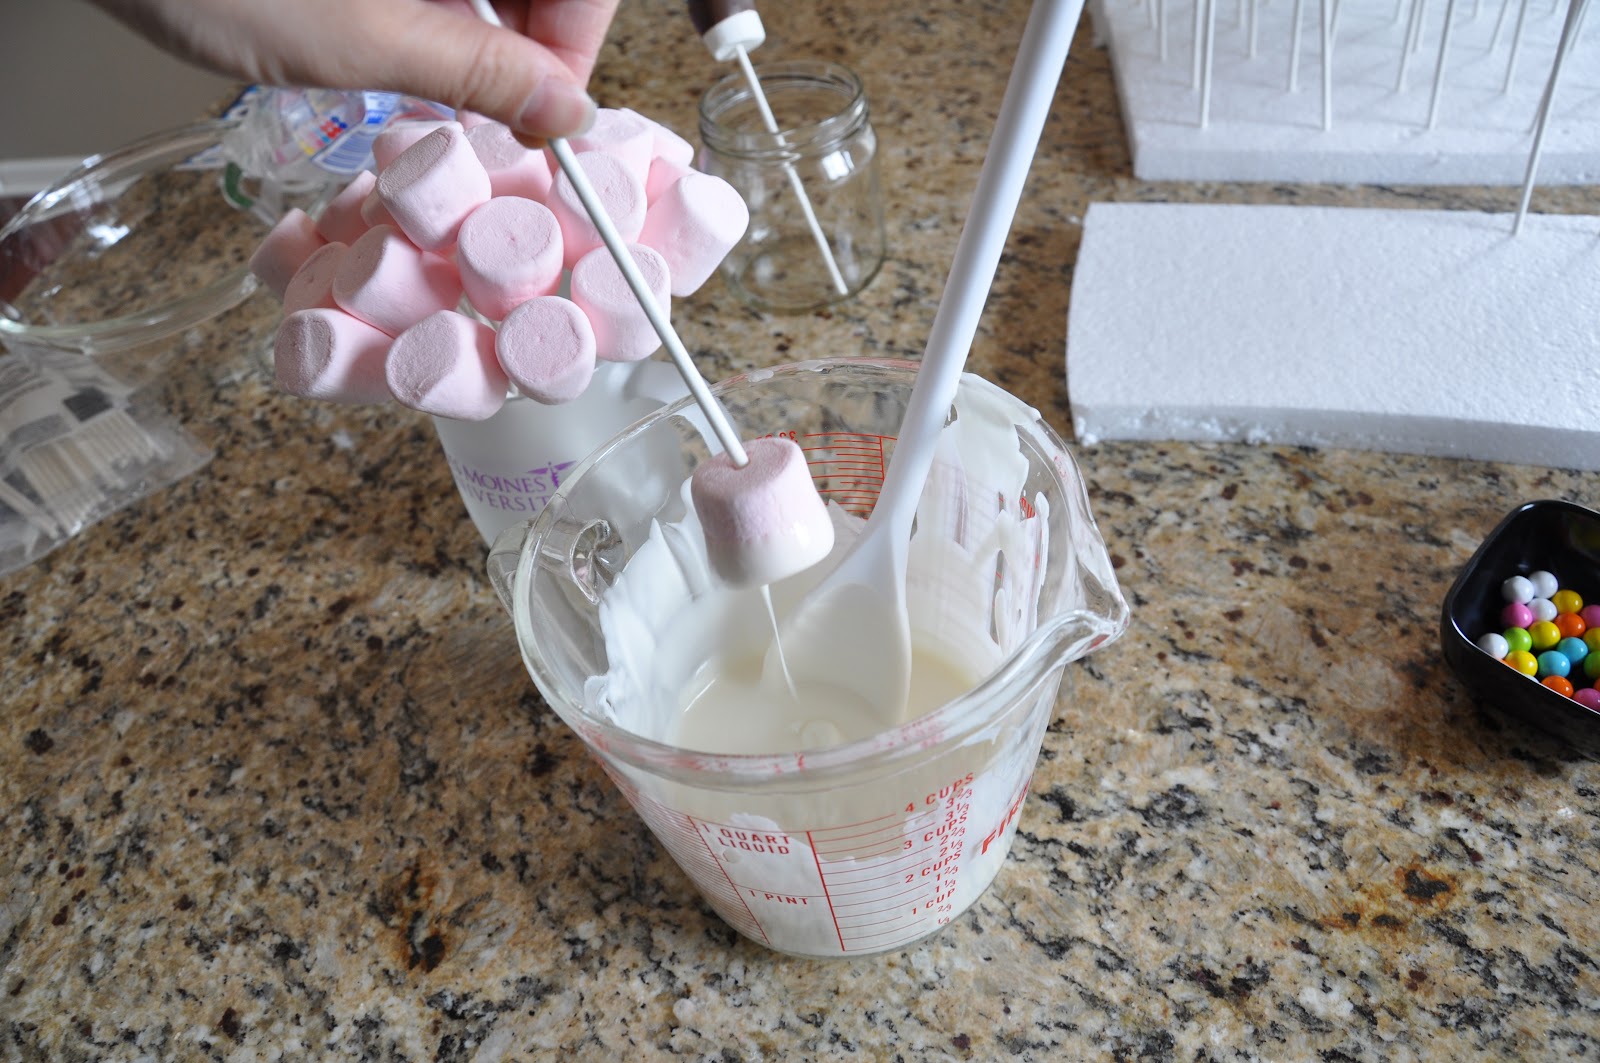
we had 4 pom giant poms hanging from the ceiling: 2 pinks, one lime, one purple.  they are an awesome inexpensive splash of color!  each cost only $1.  there are a zillion online tutorials for making them yourself.  maybe i'll be a zillion and one.  ;)  stay tuned.

btw, maeve approves of the final product!


Photobucket

UndertheTableandDreaming


Wednesday, March 2, 2011

Melissa K. Hoy Jewelry Designs - Giveaway!!!

Rainbow Bright, Handmade Sterling Silver Hoop Earrings, Pink Jade Briolette, Freshwater Pearls, Swarovski Crystals
remember my post about my super-friend melissa and her fab 'wearable art'? you fell in love, didn't you?  you're in luck because sarah at northwest hospitality is giving away a $50 gift certificate to melissa's etsy shop!  you only have until the end of this week to leave a comment to enter...so go...now...you're still here...go....(this is the only time i'll shoo you away, i promise!).

Lemon Drop Earrings, Fabulous Lemon Yellow Quartz Briolettes, Watermelon Pink Lucite, Sterling Silver
Winter White Wire-wrapped Necklace, Ivory Freshwater Pearl Hand-wrapped in Sterling Silver, Swarovski Crystal BrioletteSmoke Siren, Fabulous Smokey Quartz Briolettes, Sterling Silver Necklace


Related Posts Plugin for WordPress, Blogger...