Showing posts with label paper art. Show all posts

Tuesday, March 20, 2012

Maeve's Rainbow Birthday Party

My baby girl turned six this month and we celebrated with a colorful Rainbow Birthday Party!


The invitation is my first-ever made from scratch using Photoshop Elements.  I'm slowly learning the basics, so here's my simple invite!


We invited kids from Maeve's kindergarten class and had a party of eleven including the birthday girl!  Maeve greeted each friend with a handmade rainbow bracelet with their name on it.  It also helped us keep track of who had arrived!


bracelet details here
Food was simple (and store-bought).  gasp!  I simply ran out of time, so I assembled the pretty rainbow fruit platter from pre-cut fruit.  I cut the fruit into smaller pieces so they'd be kid-bite-sized.


I pulled out the handy tiered tray from the tutorial I did last summer.  It made a perfect display for colorful sugar and M&M cookies!


If you do a rainbow party, you must get the rainbow Twizzlers.  They were a huge hit with the kids.  I cut them into thirds; don't they look like tasty confetti?!


My husband made tissue paper poms last year and Maeve ordered them again this year.  They even have scalloped edges! ;)  And they look great on the railing.   


We covered the living room cabinet with my ruffly rendition of the rainbow table skirts I've seen all over blogland.  All for just $9 in materials. It was so colorful!


Click here to learn how I made this table skirt.


A balloon swag filled the hallway and invited guests into the party.  There's the birthday girl showing off her balloons.  She and her brother worked hard blowing up a lot of those!


For activities, I picked up a few rainbow scratch art kits from Michael's.  Each pack came with 6 bookmarks and was only a dollar.   Also at the art table was dyed ditalini pasta and Elmer's glue.  I soaked the pasta in rubbing alcohol & food coloring for one hour, rinsed, then dried overnight.


I found these small pails at Hobby Lobby for a quarter a piece on the clearance shelf b/c they had initials on them.  All that was left were "i" and "u".  Nothing a little spray paint can't fix!  They were perfect for holding the pasta for the art table.


It was a whopping 84 degrees here in Iowa in the middle of March!  That's ridiculous...but we took advantage of it by having outdoor activities, including the art table (translation: less mess)!


Two clear boxes filled with skittles and M&Ms asked the kids to guess how many.  The guesses ranged from 20 to 2000!  The winners got to take the candy home!


Maeve didn't want (another) birthday cake - "because we had one for my family birthday party" last weekend.  Instead she requested jello!  These were topped with whipped topping, if the kids wanted it.


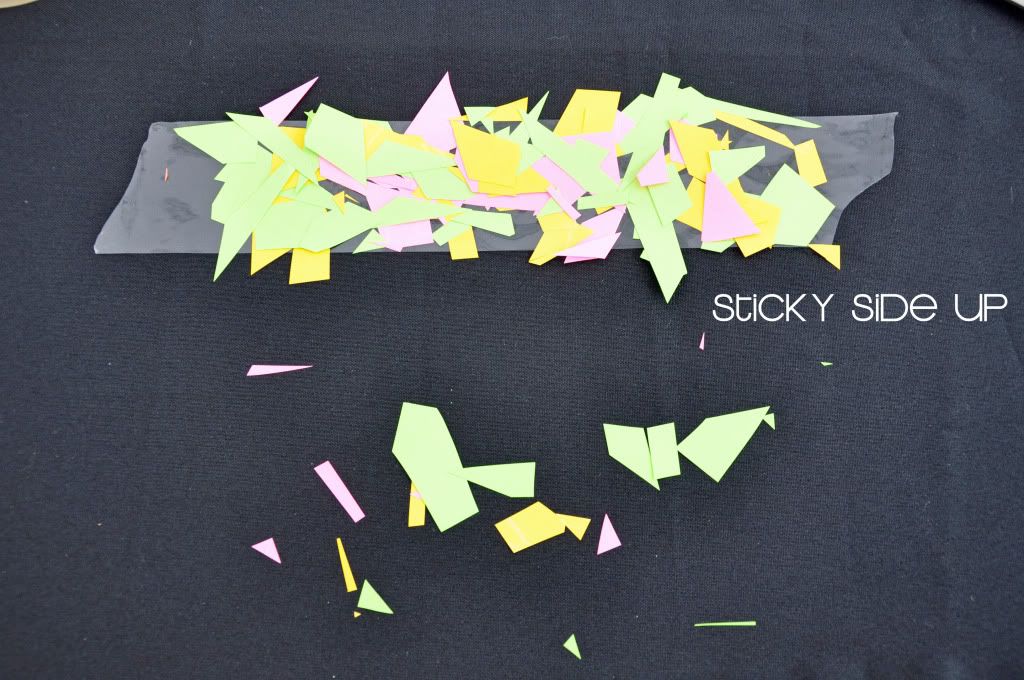
And then it was pinata time!  I loved the idea of a homemade pinata -- not so much the idea of paper mache, though.  Becky at Infarrantly Creative has a great tutorial for a paper bag pinata.  Love.  Fastened to the swing set.  Easy.  Here's how mine came together.

paper bag pinata details here
The favors were simple, handled white sacks with a line up of ribbons 'rainbowing' out of the top.  (pretty sure that's not a word, but I'm going to use it anyway).  The bags are filled with gum balls, flavored tootsie rolls, balloons, Twizzlers, and stickers - all of the rainbow variety, of course!


favor bag details here


It was such a fantastic party!  And what generous gifts she received from friends!  (And a special day for mom and dad, too!). 
Pin It
linkin up at the usual places and here

Monday, February 13, 2012

Happy Valentine's Day! a quick and cheap classroom valentine


Happy Valentine's Day! 
xoxo


I saw this valentine on, you guessed it, Pinterest.  (Click here to see what else I'm pinning).  The file is available in her Etsy shop, so you can simply print it. 

The concept of this valentine was perfect for us b/c it's unisex so it worked for both my son and my daughter!

For the over-achievers out there [insert fist pound here], you can make your own simple (translation: looks like a 3 year old drew it) version in Photoshop or Picnik (or another free photo editing site) and add your child's name.  Just don't fall in love with the ease of use of Picnik.  It's closing on April 19th. Boo.  

Use your printer settings to print 4 per page.  I stapled several sheets together (outside of my cutting area, of course)  so the sheets would stay straight while I cut them out.
Other variations include:
"Our 'school' is cool because of YOU!"
"You make our 'school' cool."

The bags (bought a pack of 100 for $2.99 minus 40%) stuffed with the card stock inserts.  Doesn't this pic look a little trippy?
The kids chose Goldfish crackers instead of Swedish Fish (which I was a *bit* disappointed by, btw). 

We made about 50 valentines and used about 2/3 of the giant milk carton-shaped Goldfish package.
Print.  Trim.  Fill.  Give.  Eat.  

It doesn't get any easier than that, right?  
(well, maybe it would be easier to buy a huge bag of boxed nerds and just hand those out...but they aren't nearly as cute!)  
(don't worry, we bought said bag of boxed nerds...they are slowly disappearing into my belly) 
(just doin' my share to keep Wonka in business)


Pin It


linked up here: http://todayscreativeblog.net/ 

Tuesday, October 11, 2011

a welcome banner from office supplies [a mini-tutorial]

We are welcoming a new employee tomorrow, so I took 15 minutes to whip up a welcome sign for her desk.  A few basic office supplies later...   

(pics taken with my trusty iPhone)...sorry!

I used:

  • 5 sheets of regular colored copy paper 
  • our paper cutter 
  • scotch tape 
  • some old, outdated business card magnets

I created the pennants using basic shapes in Word.  Once I got the triangle sized to my liking, I saved the file, then shrunk it a bit for the smaller triangle that fits on top.  Then inserted a text box to type each letter (in a font of your choice).  

i [heart] paper cutters.
Print. 

Cut with paper cutter (I wish I had one of these at home!) or scissors.

Determine your color combinations for each pennant.  Tape the smaller pennant on top of each larger one.  

Cut up the business card magnets.  
business card magnets.
I got 6 pieces out of each business card magnet. Make sure the magnet is large enough to hold the weight of your pennant.  
Tip: Use the back as the front, so you don't see your cutting guides.  Saves some time...especially at while you're at work!  ;)
And you're done! Arrange. Admire.  :)


Wouldn't you love to receive a welcome like this to help you settle into your first day at a new job?

Tuesday, September 13, 2011

Have I mentioned that I love my Silhouette?

I am in love.  With my Silhouette.  It is consistently ah-may-zing me with each new project.  I recently made cards on it.  Where has it been all my life?  I digress.

The first card was a birthday card for a gift that was ordered through my etsy shop.  The customer asked that it be shipped directly to the birthday girl and I included this card:

  
To create the card, I used two different files that came with my Silhouette.  I used the card with a scallop edge from one file and the happy birthday from another file.  Easy.

Now that I had some confidence in my card making...(ha!)...I decided to create a thank you card to include with a different order.  This one was designed around my shop's logo.  


It's just circles.  The bottom row of circles has my shop logo peeking through.  The top two rows say 'thank you', as if you needed me to spell it out.  Although my husband had trouble figuring out what it said...is it hard to read?  I liked how the "k" wraps around so the rows stay consistent and mimics the four circles in the logo.  What do you think?

And because I didn't want the inside writing to show through, I dug through my scrap pile and found a charcoal gray piece of sheer fabric, cut it to size, glued it to a piece of white card stock, then glued to whole thing to the back of the front flap.  In the pic below, you can see the shimmer of the sheer fabric. 

I swear, it looked better in person!  I hope the recipient thinks so, too!  

Wednesday, June 15, 2011

scrap paper kids' bracelets [a tutorial]


we just finished our 3-day garage sale and are *so* happy to take back a lot of our storage area!  


while we were keeping an eye on our 'shop', we made some scrap paper bracelets out of the supplies on the check-out table.  


this is *so* simple and the kids had a blast 'designing' their bracelets.  think of it as a scrap paper sandwich where the tape is the bread.  but here are some pics to illustrate:


Design option #1


some scraps that didn't stick.  fit them on the tape or leave the spaces empty!
Design option #2:


here's the sandwich!


Use a small piece of packaging tape to secure it to a wrist (or ankle)!  


easy and fast activity to get the kids' creativity flowing! enjoy!


linkin' this up to those on my linky party page


Related Posts Plugin for WordPress, Blogger...