Sunday, November 27, 2011

make your own chenille - chevron style!


I didn't believe it would work.  In fact, I set out to prove it wrong.  I failed.  Not only did it work, it is awesomely soft, thick, and pretty. 


I am enjoying the chevron trend just as much as the next gal, so when I saw this tutorial at Aesthetic Nest, I had to give it a whirl (despite all the other projects I am supposed to be working on...).  So, to make myself feel better about my lack of self-discipline, I made just a mini version from her tutorial instead of the full baby blanket.  My little sample piece is more placemat size (but I love it just as much).

Before taking a ride in my washer and dryer.
It's so simple, it hurts!  Layer up some flannel (I used 5 layers of white and a top layer of this floral).  Sew along the zig zags.  Bind (packaged binding is good enough for me!).  Wash. Wait. Anxiously. Toss in dryer. Wait. Anxiously.  Enjoy your fluffy chevron-y prettiness!  
Is this a little foreshadowing of a future as a rug???

I am not sure what I'm going to do with my sample.  It's so pretty.  My mom came over, saw it and decided it'd make a great rug for under her dining room table. Crazy! But wait...that's not a bad idea.  It's soft underfoot (yes, I stepped on it), machine washable, and customizable to any decor!  I think my mom may be on to something...


 What do you think?  Would it make a nice rug?  Or am I out of my mind?


Thursday, November 17, 2011

Add length to kids' pants [a tutorial]


Our daughter has grown 2+ inches since March, but her waist has not grown in proportion. Don't get me wrong, I'd kill to have long legs and a too-small waist!  


But when we pulled out Maeve's pants from last winter, they still fit in the waist, but were WAY too short. Most of them went in the giveaway bin, but I had an idea to extend the life of a few of her favorites warm and cuddly fleece pants.


{I have to apologize for the cruddy photos...I was doing this late at night after the kids went to bed and the lighting stinks after the sun goes down...ha!}

  • Start with 2 pairs of pants (one to add the length to and one to use for fabric).  


  • Have your little one try on the too-short pants and measure how much additional length you need.


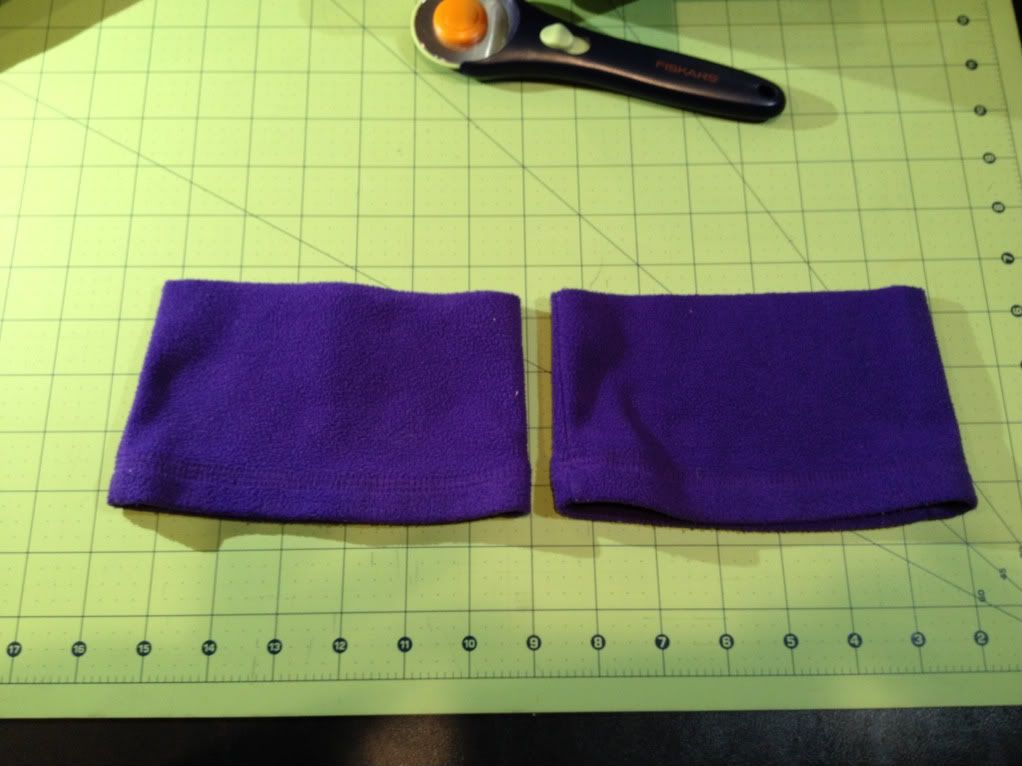
  • Before cutting the cuff, remember to add some length for the seam allowance.  I added about 3/4".  Then cut the cuffs off the bottom of your other pair of pants. 
  • You have a decision to make here.  1) cuff on the outside of the hem and have a raw edge exposed (use only with fabrics that do not fray, like fleece or knits), or 2) raw edge hidden under the existing hem. 


  • Turn your pants and cuff inside out. If your pants have a seam on the outside of the leg, line up the cuff seam with the leg seam.  Pin in place. 
  • Sew.
You can be done here.  But I think adding a corresponding embellishment on the knees makes the pants look less "homemade" and more like you bought them with contrasting cuffs.

To do that:  
  • Cut two hearts (or any shape of your choice) from the remaining fleece to fit on the knee of the pants.  Pin in place.


  • Use a satin stitch (zig zag) and sew all the way around your shape.  You'll have to do a little tugging and adjusting as you sew.  Be careful not to sew the pants to themselves (like I did - doh!)
 When I finished these, I went to bed and kept my fingers crossed that Maeve would love them when she saw them in the morning.  And she did!  She wore the to school that day!  Her favorite part?  The hearts!


Warning: you may be asked to add hearts to more pants after they see how awesome these are!

Todays Creative Blog
Related Posts Plugin for WordPress, Blogger...