I can't believe my baby girl is turning five next month!
Where has the time gone?
And when did I get this old? :)

The best part about kid's birthdays is the P-A-R-T-Y! Right?! I love a fun party. To celebrate her birthday, Maeve ordered up a cupcake-themed (shocking!) party at our house for her 'school friends'.
Being so inspired by the rest of you, I wanted to try making her invitations by hand. Easy. A simple card with a pretty cupcake on the front and info inside.

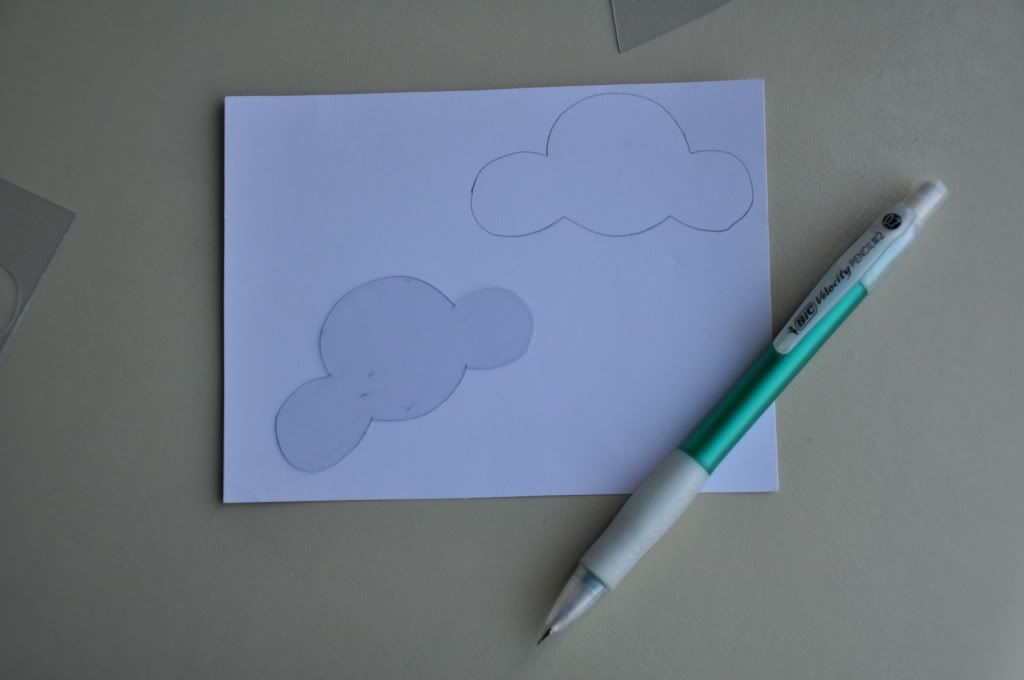
I created a template/stencil for the top and bottom of the cupcake with a piece of rigid plastic from the back of some packaging (from a ped egg! ha!). I just free handed the shapes. I used the cut pieces to trace around, but you could use the stencil that's left (but I cut through the edge of mine).

I traced the shapes onto two coordinating prints of pretty scrapbook paper (one for the icing, one for the bottom). Trace on the back of the paper so your pencil lines don't show on the pretty side. With the help of my uber-masculine, football-loving husband, we cut the shapes out (while catching up on a few DVR'd shows).
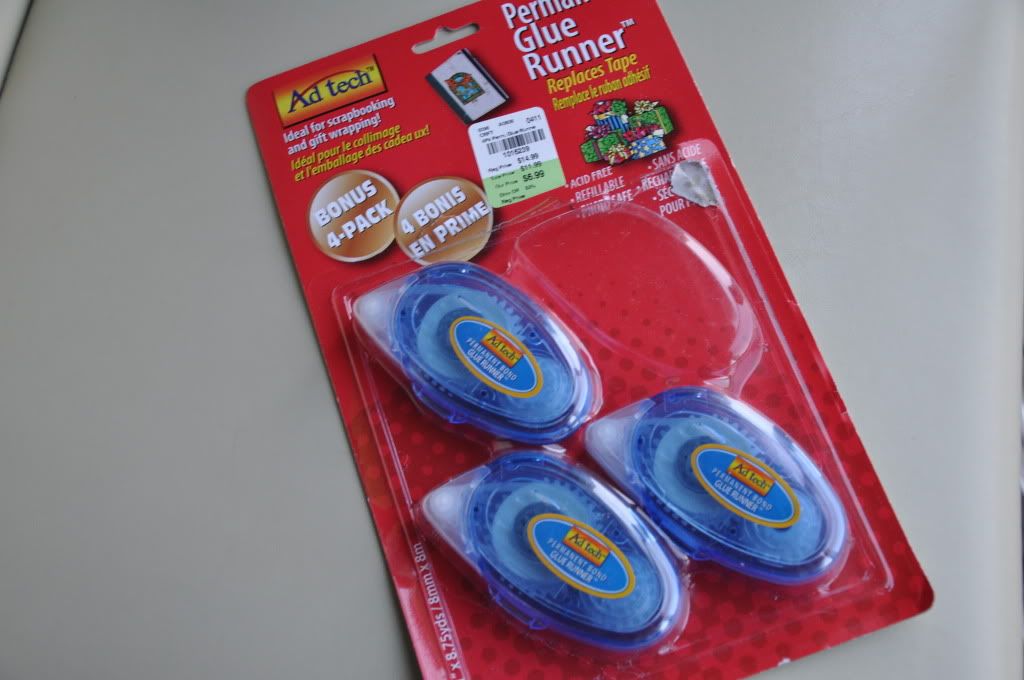
I picked up a 4-pack of adhesive tape at Tuesday Morning for super cheap and used that to stick the shapes to the front of a blank note card. You could use a glue stick as well. Got a pack of 50 blank note cards and envelopes for a few bucks at JoAnn's (using the 40% off coupon, of course).
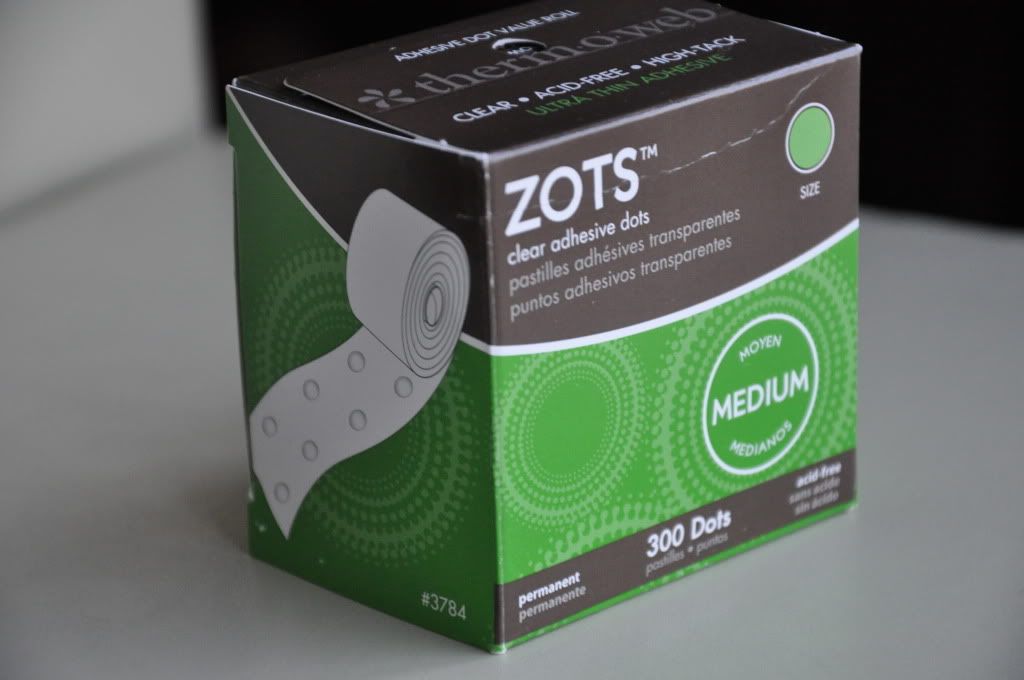
To top it off (and to add a bit of glitz), I added a heart-shaped acrylic jewel using adhesive dots.

So cute!
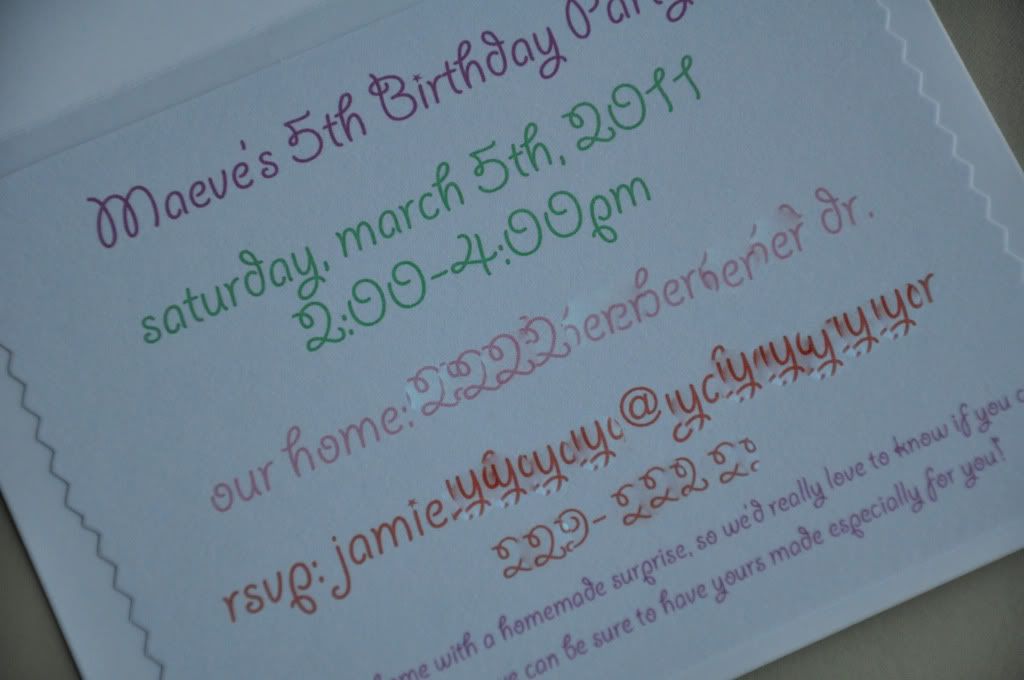
Oh, and realized halfway through adorning that I was going about this in the wrong order (should have designed and printed the inside of the card first), I printed the party info on separate sheet of cardstock, cut it to size (with decorative edged scissors), and adhesive taped it to the inside of the note card.
 |
| the small print at the bottom of the invite talks about a 'special homemade gift for the girls'. i'll be blogging about that surprise as well. stay tuned! |
I made it easily in Photoshop Elements, but you could just as easily done it in whatever software you have!
Mailing tip: if you add any "sharp" adornments to your card (like my jewel), place a piece of tape on the inside of the envelope to prevent it from poking through during delivery. It'll also help protect it!
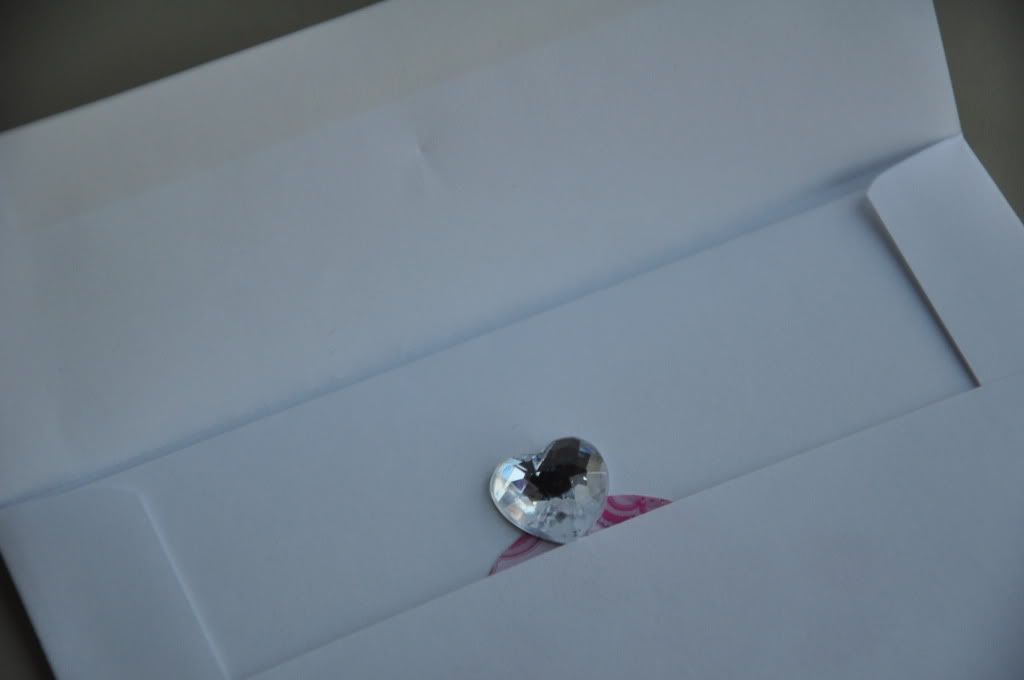 |
| If you look closely, you can see the indentation my jewel made on the flap of the envelope. I simply placed the tape there for reinforcement. |
There you have it...easy and cute birthday invites!